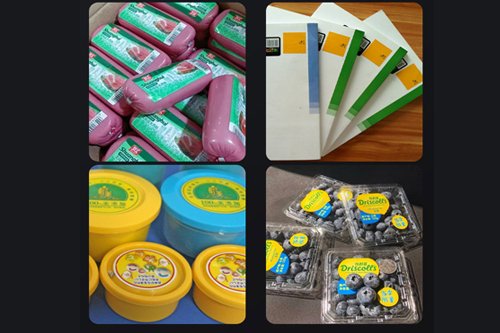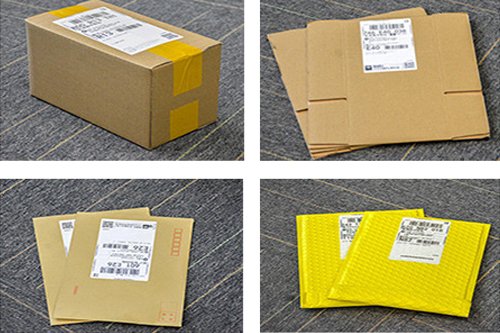
Ever tried sticking a label on a bottle, only for it to end up crooked, bubbly, or—worst of all—half hanging off? Yeah, I’ve been there. And trust me, nothing is more frustrating than spending hours getting a product ready, only for the label to make it look unprofessional. That’s where a label applicator comes in—your best friend in getting labels straight, smooth, and exactly where they need to be.
So, what exactly is a label applicator, and how does it work?
Picture this: You’ve got a high-speed labeling machine, ready to go. It’s like a well-trained chef in a busy kitchen—fast, precise, and consistent. Whether you’re labeling bottles, boxes, or bags, the process is simple but genius.
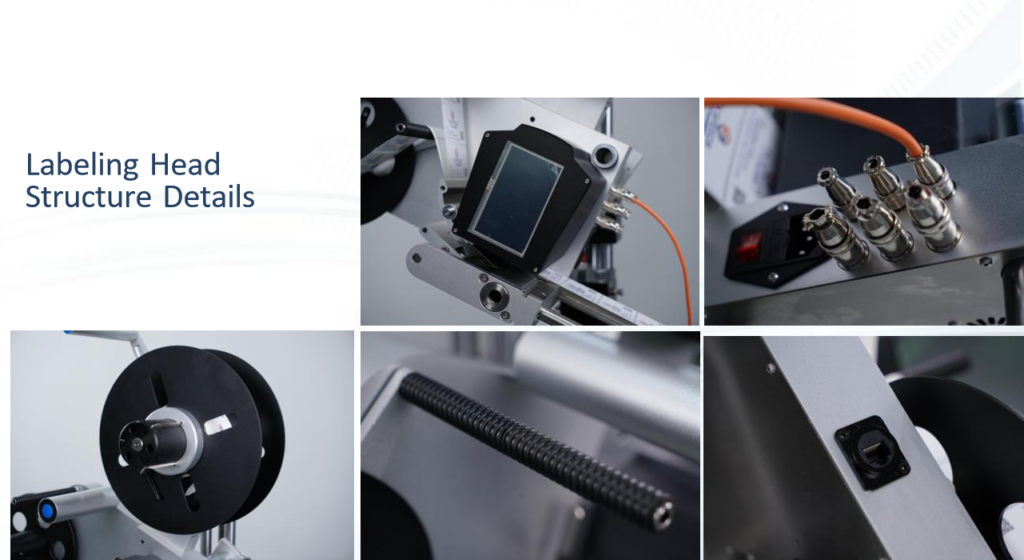
A label applicator feeds labels from a roll, peels them off their backing, and applies them smoothly onto a product using rollers or air pressure. Some advanced models have sensors that detect product placement for even more accuracy. These machines are designed to work fast—like, really fast. A high-speed labeling machine can label thousands of products per hour, making it a lifesaver for manufacturers who need efficiency and precision.

How does it all come together?
Think of it like making a perfect sandwich. You need all the components to work together—the bread (label roll), the fillings (peeling mechanism), and the final press to make sure everything stays in place. Here’s how it works:
- Label Roll Feeds In – The machine unwinds the label roll, getting it ready for action.
- Peel & Apply – The applicator pulls off each label and places it neatly onto the product.
- Smooth It Out – Rollers or air pressure ensure the label sticks without bubbles or wrinkles.
- Sensor Check – Advanced models detect placement, so you get perfect alignment every time.
It's like magic—but, you know, the kind backed by engineering and precision.
How do you load a label applicator without pulling your hair out?
Ah, loading a label applicator. It sounds easy until you end up with a tangled mess of labels, backing paper, and frustration. But don’t worry—I’ve got you.
Loading a label applicator involves mounting the label roll, threading it through the peeling mechanism, adjusting tension settings, and running a test to ensure smooth application. Mess this up, and you might end up with labels applying sideways—or not at all.

Here’s how to do it the right way:
- Mount the Roll – Make sure it’s snug and rolling in the right direction (yes, that matters).
- Thread the Labels – Guide them through the peeling plate and rollers.
- Adjust Tension – This keeps the labels feeding evenly, preventing misalignment.
- Set Up Sensors – If your machine has sensors, make sure they’re detecting labels correctly.
- Test Before You Go Full Speed – Run a few test labels to ensure they’re sticking properly.
Skipping a test run is like baking a cake without tasting the batter—you’re just asking for disappointment.
How do you use an Avery label applicator? (AKA the beginner-friendly option)
So, maybe you don’t have an industrial labeling machine but still want to apply labels neatly. Enter the Avery label applicator—the DIY champion of labeling.
Using an Avery label applicator is as simple as loading the label roll, setting the label size, and pressing the applicator against the surface to apply labels evenly. It’s great for small businesses, craft projects, or anyone who needs a fuss-free way to get labels onto products.

Quick Start Guide for Using an Avery Label Applicator:
- Load the Labels – Pop the roll in and thread it through the applicator path.
- Set the Label Size – Adjust settings to match your label dimensions.
- Press & Apply – Position the applicator and press it against the surface.
- Check for Accuracy – A quick quality check ensures everything is aligned perfectly.
It’s like using a handheld price tag gun—easy, intuitive, and designed for efficiency.
What about label dispensers? Do you even need one?
If you’re applying labels manually, a label dispenser can be a game-changer. Think of it like having an extra set of hands to peel off labels for you—no more fumbling with sticky edges!
A label dispenser holds a roll of labels, peels them off their backing, and presents them one by one for easy application. This makes the process faster and eliminates the frustration of trying to peel labels off manually.

Why bother with a label dispenser?
- Saves Time – No more wasting minutes peeling labels by hand.
- Reduces Waste – Prevents labels from sticking to everything but the product.
- Simple & Efficient – Just pull the liner, grab the label, and apply.
How to use a label dispenser like a pro:
- Mount the Label Roll – Secure the roll so it feeds smoothly.
- Thread the Labels – Guide them through the peeling mechanism.
- Pull & Apply – Each label will be ready for quick application.
- Adjust as Needed – If labels aren’t feeding properly, tweak the settings.
For businesses labeling hundreds or thousands of items, this small tool makes a huge difference.
Here is a video for your refernece:
https://youtu.be/2siFFp7rSrY
Final Thoughts: Let’s Get Labeling!
At the end of the day, using a label applicator isn’t rocket science, but it does require a little know-how. Whether you’re working with a high-speed labeling machine, a box labeling machine, or a simple Avery label applicator, getting it right means fewer wasted labels, more efficiency, and a more professional finish.
So, if you’re tired of slapping labels on by hand and hoping for the best, it’s time to step up your game. Trust me—once you start using a label applicator
properly, you’ll wonder how you ever managed without one.


